This style is elegant, yet simple. This is probably one of the easiest styles to do. All you need to do is separate your hair into two equal sections. Then separate these sections further into two uneven sections where one lock of hair has less than the other. Braid the smaller portion.
Twist the unbraided portion slightly and join them in the back of your head with a bobby pin or hair tie. Then, twist the braid around the unbraided portion and secure.

This style starts by separating your hair into two parts. Then, start to knot it. By this, just tie it then do it again and again. Don’t worry! Your hair won’t be stuck this way. Once you’re done, lift one of your knotted “braids” under the other and pin it.
Take the opposite knotted “braid” and swoop it over the other one. Tuck it in, and you’re done! Tug your hair a bit if you want to give your hair a little lift.
Few styles are as beautiful as classic curls. You can get this look using a curling iron or a flat iron. For a flat iron, put it at your root, wrap it toward your face and around the iron.
Clip the remaining bit in between the plates, and slowly pull. Keep the grip loose and curl with your hand a bit to enhance the twist.

You get to choose how high you want to go. For this style, you’ll need to use a hairstyler and a brush to tease your hair into a bouffant. From there, you can pin down this portion or go for a full bun.
If you leave your hair down, you can also curl it for a little extra pizzazz.
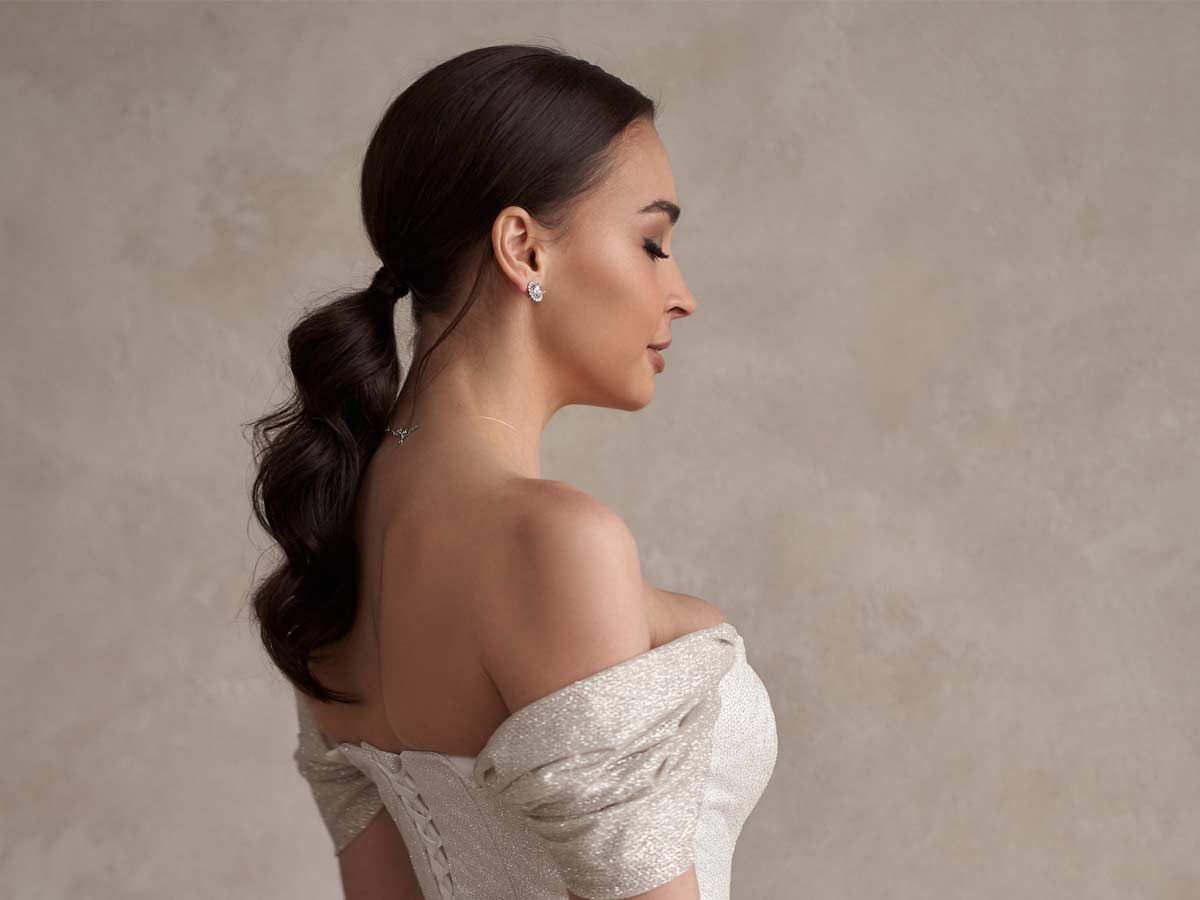
Side ponies are perfect for a wedding. They’re incredibly elegant and can be completed in just a few minutes. Before you throw your hair into a pony, we suggest teasing the crown of your hair for a lifted appearance. It will bring your hairstyle from an 8 to an 11.
Finally, leave a few strands hanging down for a little bit of a “messier” appearance.

You can start this style by curling your hair, but you can also do it with straight hair. Take a portion of your hair and braid it along the side of your hair. When you’re done, pull on the braids slightly to make it look larger.
Finally, pin it with a bobby pin or brooch.
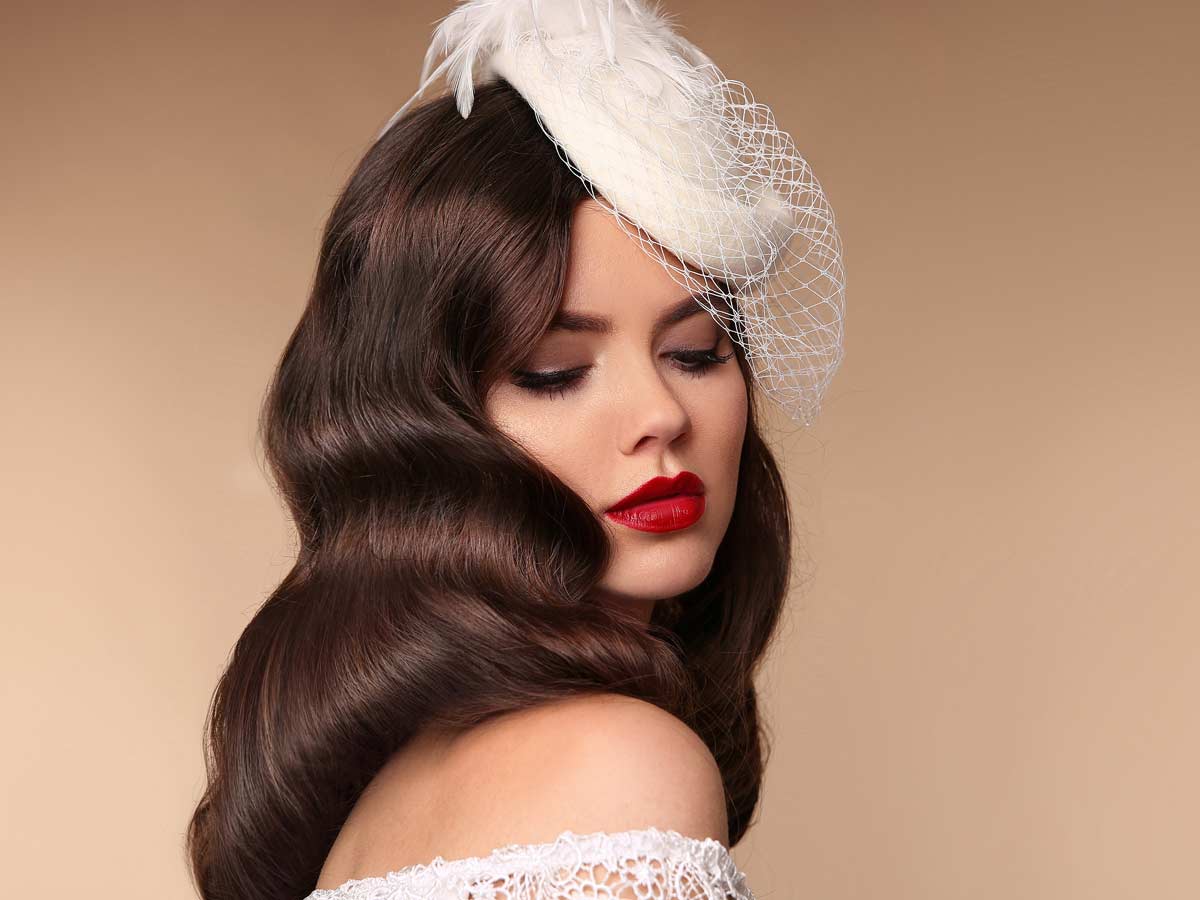
The classic Hollywood wave will never go out of style. This stunning style is constantly found on the red carpet, but nothing is stopping you from wearing it on your big day! For this, we suggest curling your hair. Shake out the curls a little bit so you can get larger waves.
You can also braid your hair the night before if your hair doesn’t get super frizzy!
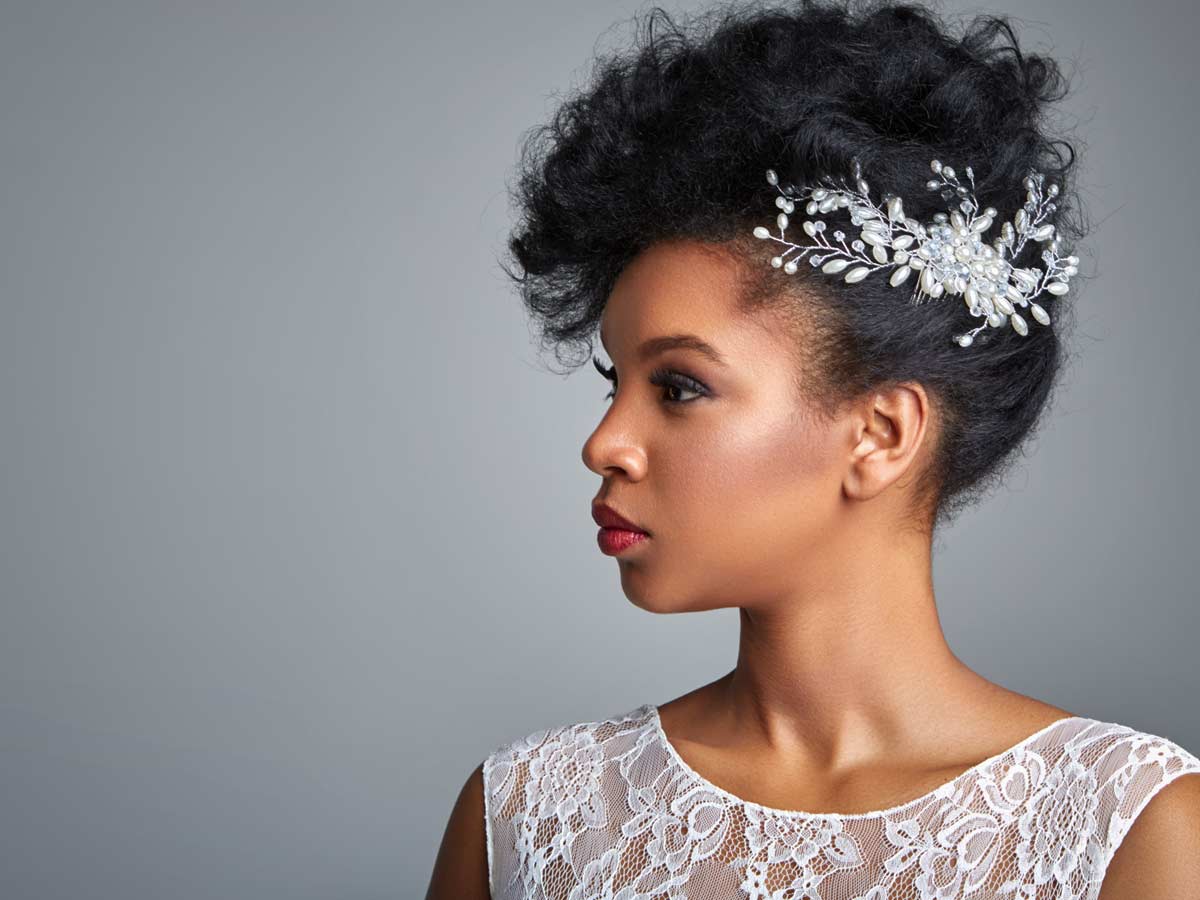
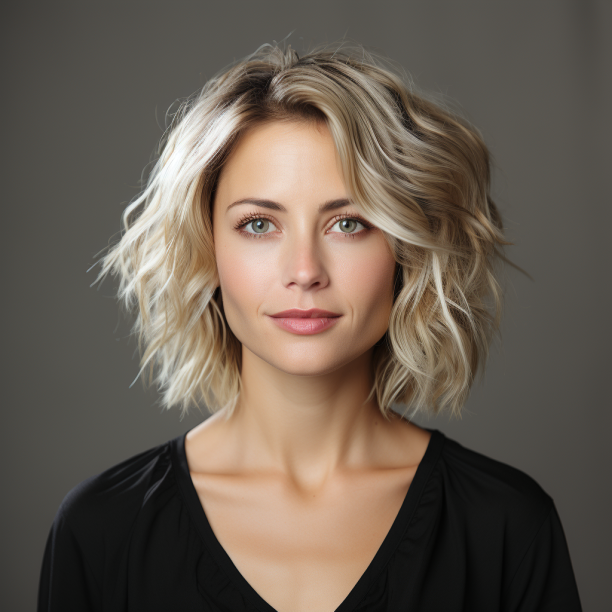
If you have short hair, this style is ideal. You can pin back your hair using a brooch. It also adds a bit of shine which brightens up your face.
While we suggest you curl your hair into beachy waves or retro curls, you can also go with straight locks!

You don’t need to go complicated. A bun with a headband can look amazing. You can either go simple like in the photo or you can get more intricate and use a headband with a floral design.
You can then add other things like flowers if you want!

You may have seen this style on TV shows. Thankfully, you don’t need a stylist to do it! Start by taking a small section on either side of your head and braiding them. Join them in the back by tucking the ends into your hair. This keeps the ends from showing.
Bobby pin to keep safe. We suggest teasing your crown for extra lift.

This is a hairstyle that looks more complicated than it actually is. It works best for thick hair, but that doesn’t mean you can’t do it with thinner hair. Those with thin hair will have to texturize with texturizing or salt spray. Once you’re ready, pull your hair into a pony without tying it off.
Then, begin to twist inward until it forms a type of bun. Secure it with bobby pins (a lot of pins), and you’re done.
Don’t be intimidated! This style is actually super easy and great for curly hair. For this style, you separate as you go down. Pull a section of hair back and twist it until it starts to twist in on itself. Secure it with a bobby pin. Then, move down until all of your hair is back.
We suggest going for three or four sections, depending on how much hair you have.
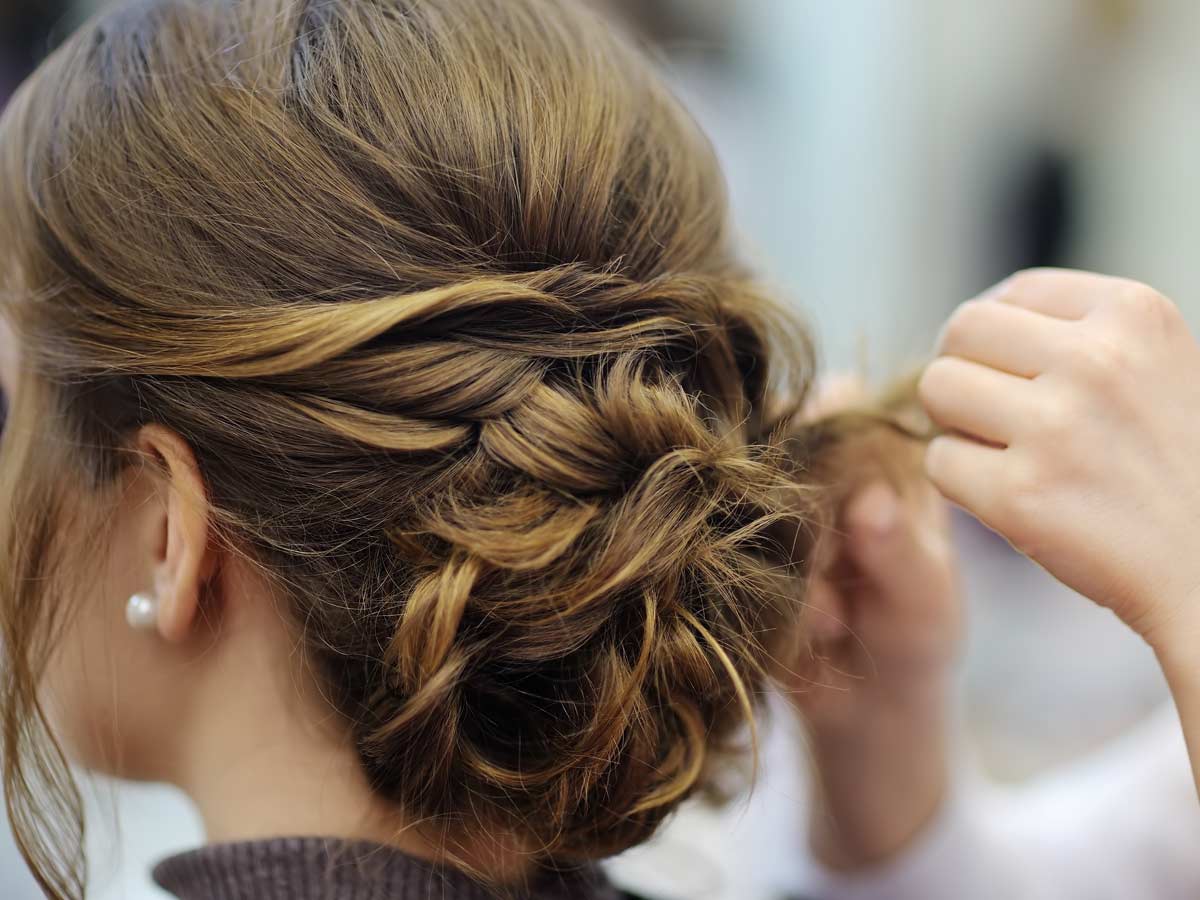
This one looks intimidating at first, but it’s easier than it looks. Separate your hair into three even parts and begin braiding each one separately. Secure by tying them at the end. Tie the braid into a bun behind your hair and tuck the tail behind the bun. Secure with a bobby pin.
Then pull the braids back toward the back bun and twist. As with the first one, tie tuck the tail behind the bun and secure with a bobby pin.
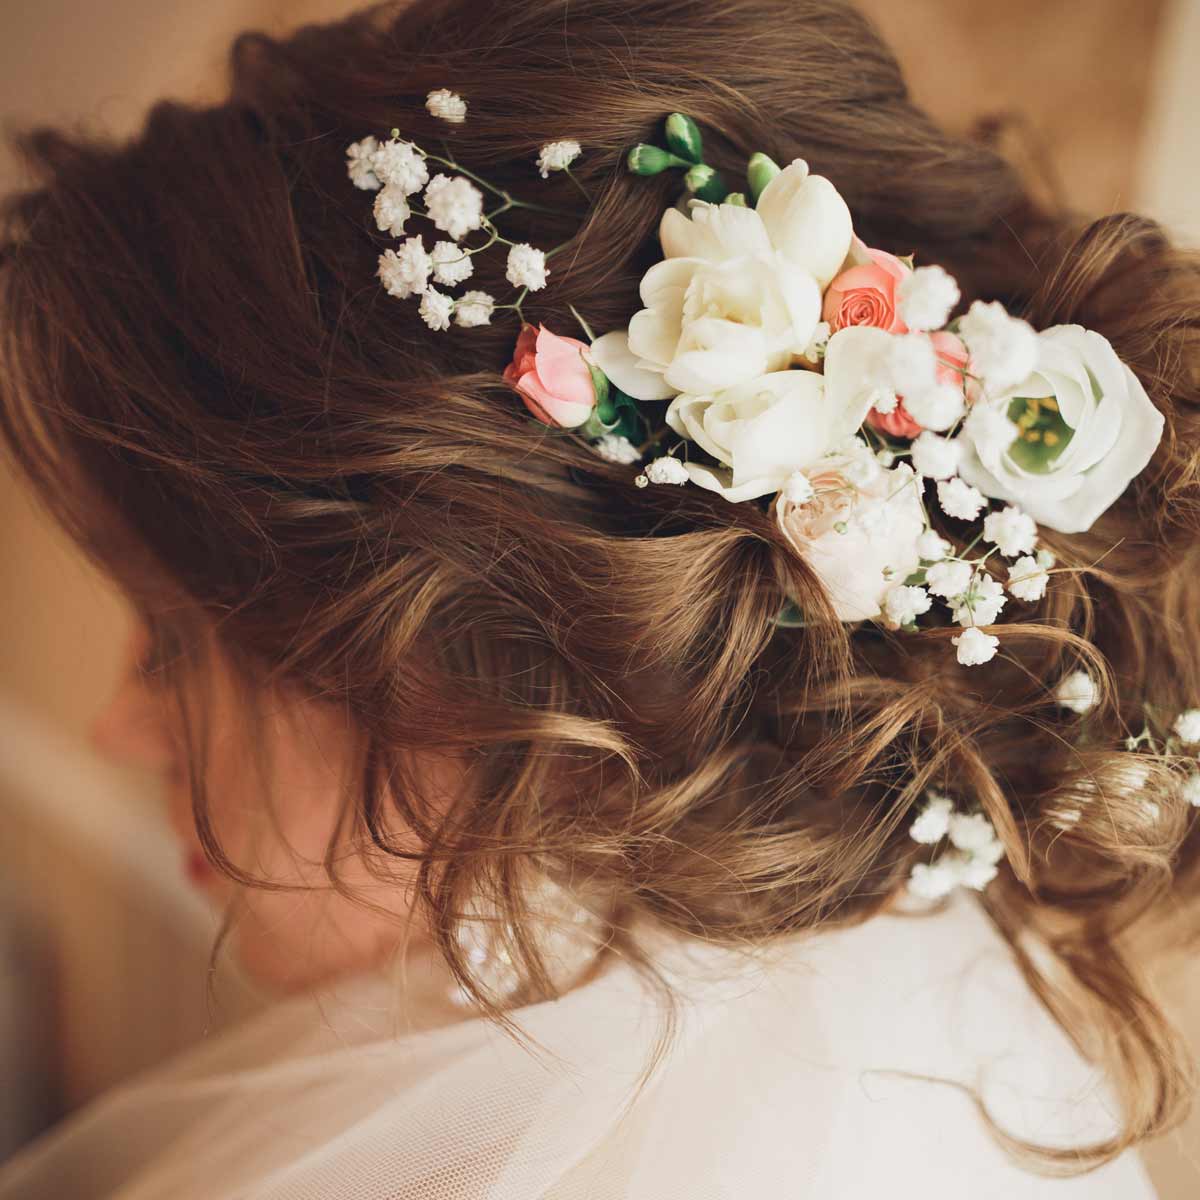
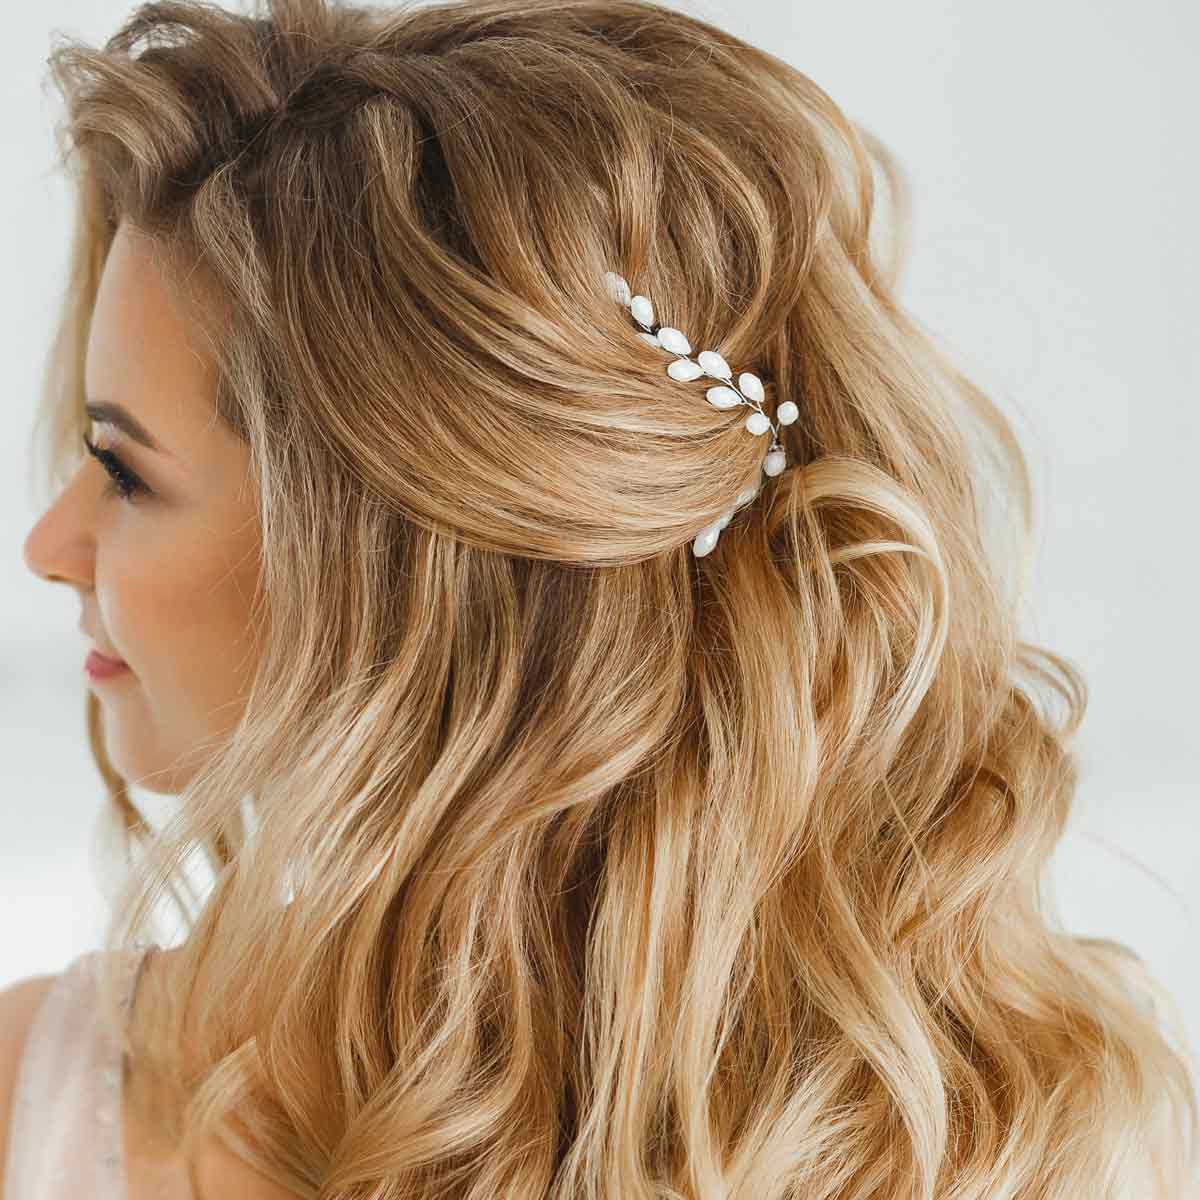
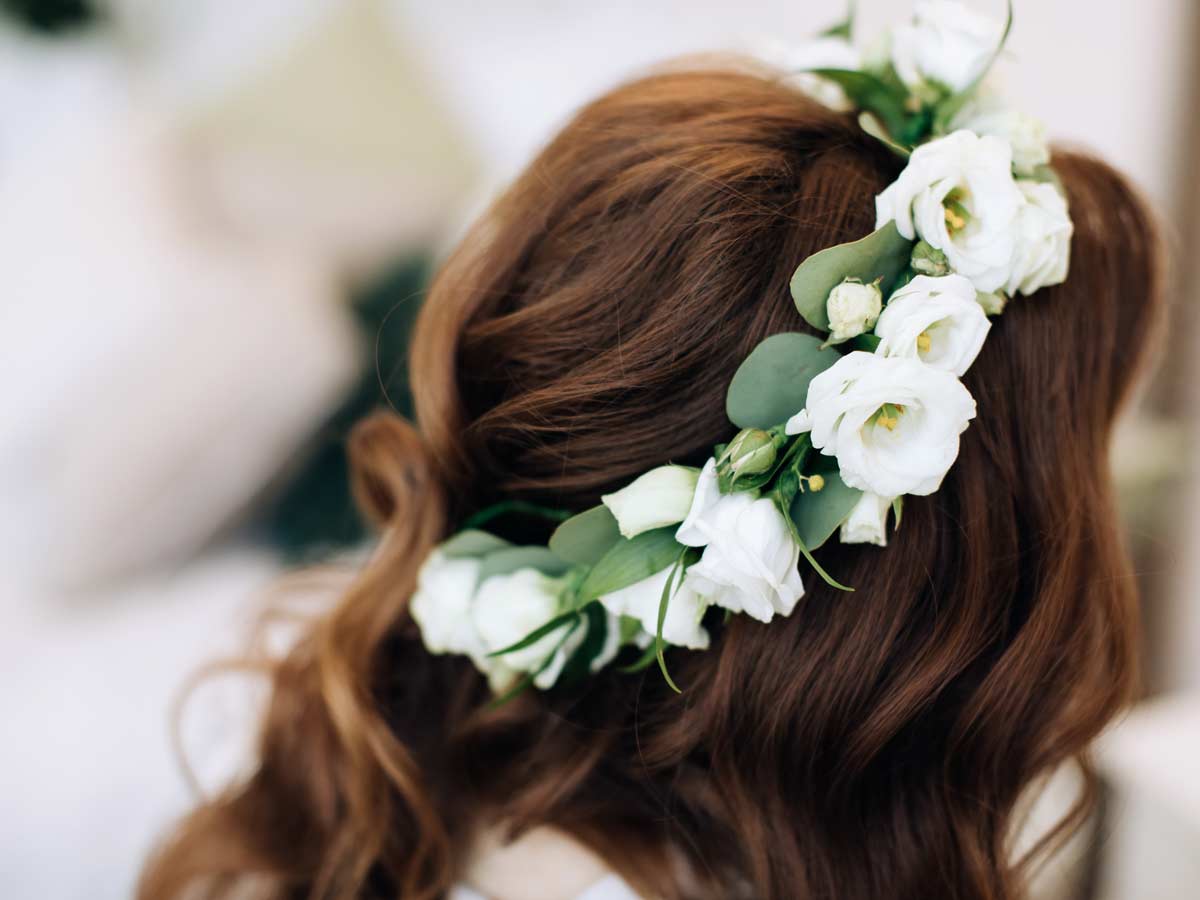
Never underestimate the power of flowers. Even if you have short hair, you can pull this off. Simply pull back the front portion of your hair and pin it back with a bobby pin.
Then, stick fresh or fake flowers in your hair. Bobby pinning them down will ensure that they won’t move throughout the day.
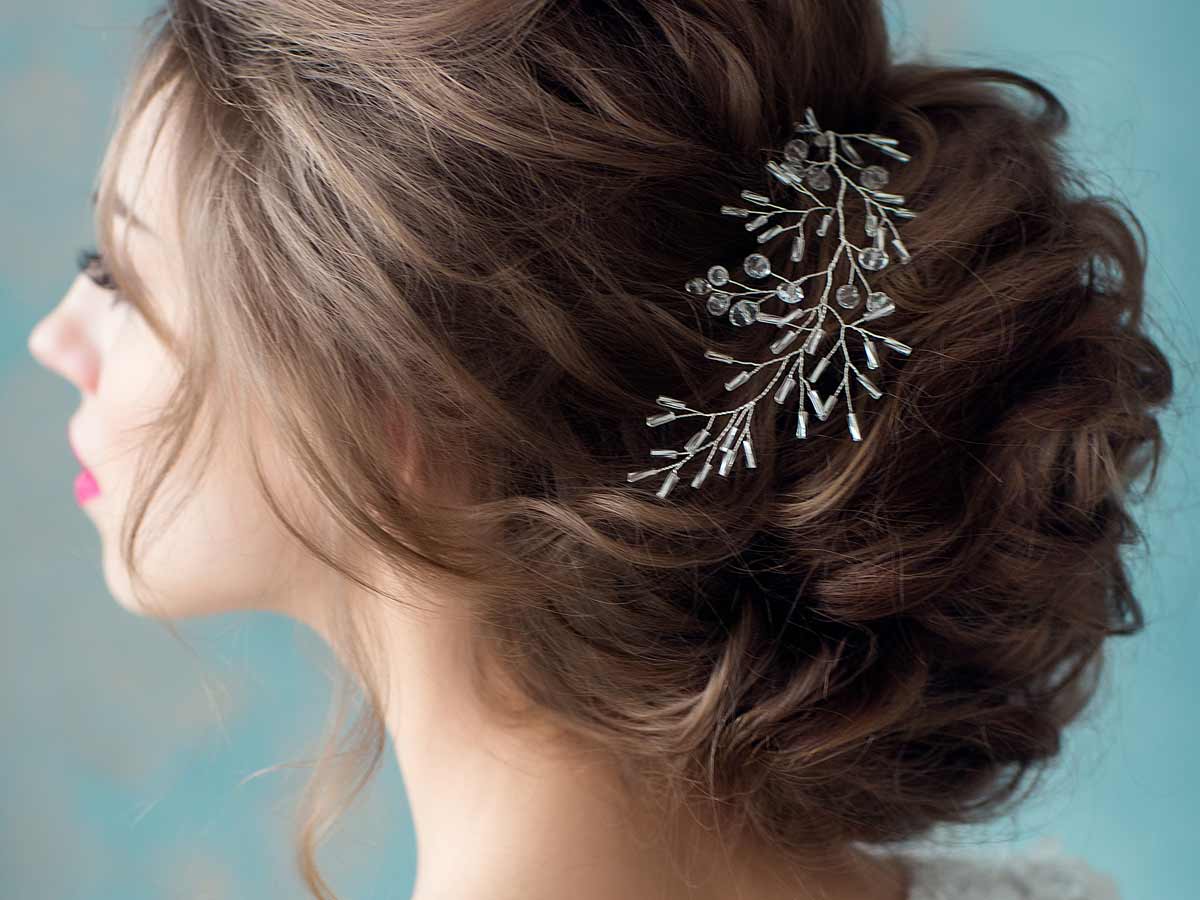
You can leave your hair down! Just give it light waves and pair it with something blingy. You can get the waves using a wide curler. Just put your hair into a ponytail and curl away.
A straightener will also get the same effect if you twist it before running the flat iron over your gorgeous locks.