
The best tip anyone can give you is to keep your hair healthy. Unhealthy hair doesn’t hold color as well as healthy hair. Unhealthy hair has damaged shafts, which make it hard for the color to grasp. Eat the right foods and drink enough water to ensure healthy locks.

Prep your hair before you dye it. We don’t mean to add special stuff to your hair. All you need to do is avoid washing it! Try not to wash your hair for 24 to 48 hours before you dye it. Freshly washed hair is slippery, and it’s tough for the color to penetrate the shafts.
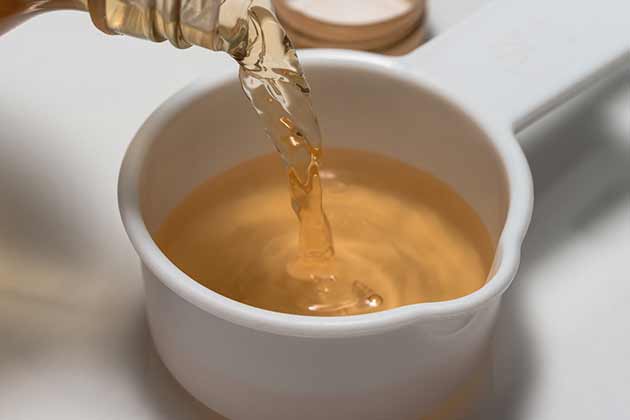
Apple cider vinegar has a ton of uses, so a bottle of it in your home can be a lifesaver. After shampooing, rinse your hair with apple cider vinegar and let it sit for two minutes. Then, rinse it thoroughly. It can be tough on your hair, so make sure to get it all out. Doing this will ensure your color lasts longer.
This one is a given, but it’s an often-forgotten tip. Washing your hair after coloring it could cause the color to fade. Over time, your hair could become dull or the color could wash out completely—depending on which color you dyed it.

Want to avoid box dye? There are several natural alternatives. Coffee is one of the more popular. It stains clothing, so why not stain hair? It’s good to go darker. Make two cups of strong coffee, let it cool, and mix in some leave-in conditioner. Apply to hair and let it sit for about an hour. Then, wash it out!
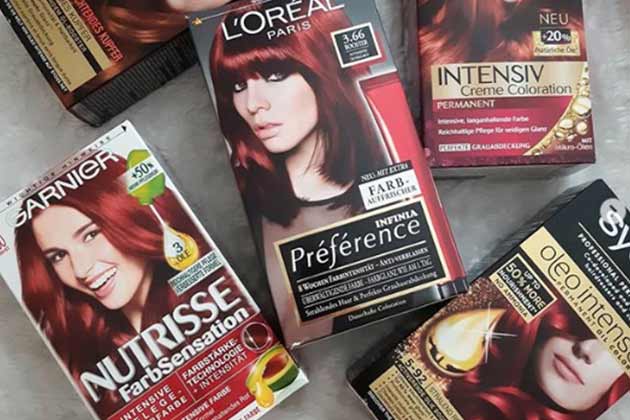
The model on the box lies! The developer in at-home kits is often stronger than what stylists use. This means that the color can be lighter or darker than what’s on the box. Additionally, the hair color on the box is assuming you have virgin (never dyed) hair.

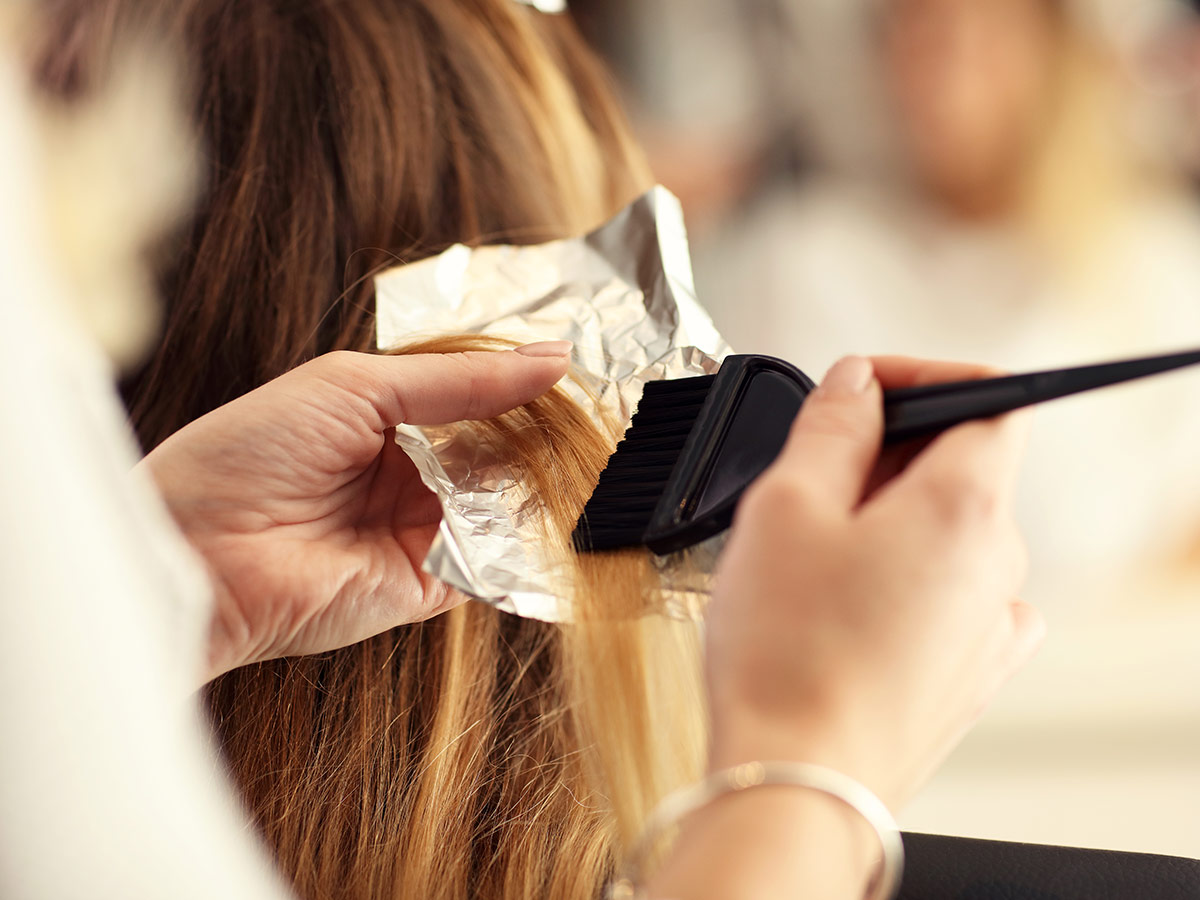
When you’re dying your hair, apply dye to the roots first and then move to the ends. Your roots need more processing, especially if you’re going dark to light. It’s easy to glob on top and go down but resist the urge. Taking a little extra time can help your style go from streaky to even.

Even if you’re wearing a smock or something else to protect your clothing, don’t wear anything you care about. Dye can seep through the smallest spaces and ruin your clothing. Wear something old so you won’t be upset when the dye stains.
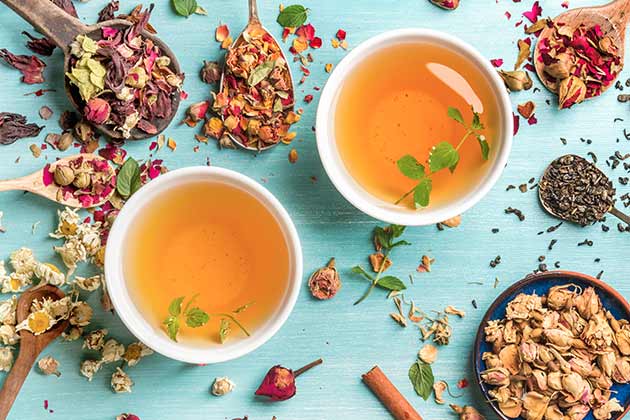
Tea can actually dye your hair! You can’t go from platinum blonde to solid black hair, but you can get slight changes. Brew strong black tea to darken blonde hair. If you want to lighten dark hair, use chamomile.

Unless you have hair that’s shorter than your shoulders, get two boxes. Really long hair may need three. Think of it this way: it’s better to have too many than too little. No one wants to run to the store to get another box with half-dyed hair.

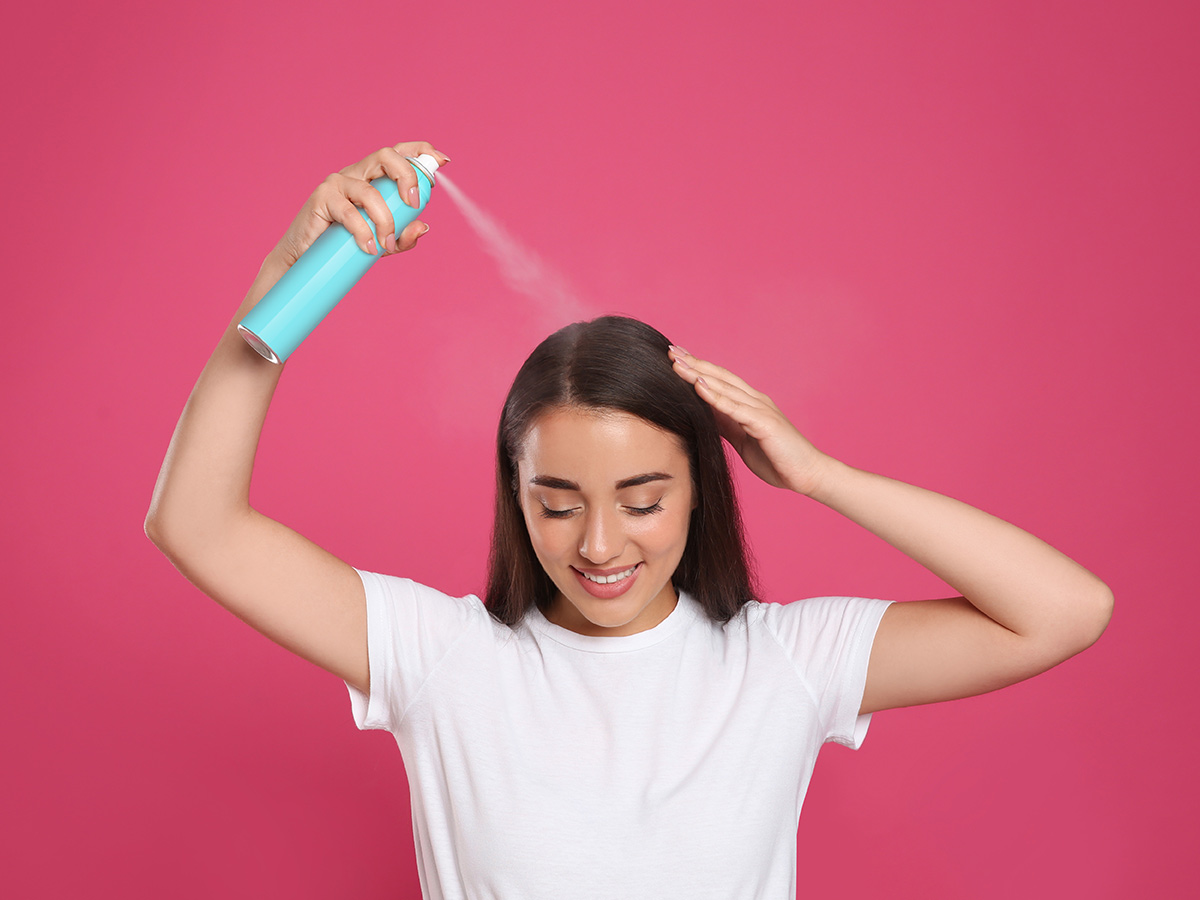
There are several herbs you can use to dye your hair red naturally. Calendula, marigold, rose hips, and hibiscus are all great to get that red tinge. Simmer 30 minutes, strain the tea, and allow it to cool. Then, you can spray or pour it over your hair. It’s best to allow it to dry in the sub. Beet and carrot juice are also great options.
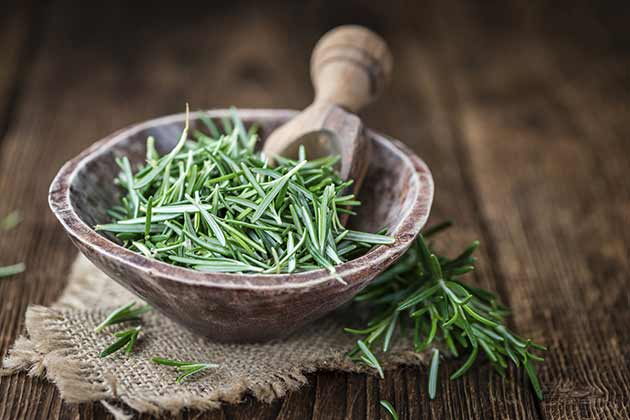
To darken your hair naturally, you can use rosemary, nettle, and sage. Start by simmering one (or all) of the herbs for 30 minutes. Strain the mixture and allow it to cool. Finally, spray or pour it over your hair. Let it dry in the sun, and you’re good to go!

To lighten your hair naturally, you can use chamomile, marigold, saffron, or sunflower. All of these herbs work well to lighten your hair a few shades, but don’t expect a drastic change. Lemon juice also works well but requires you to leave it on several hours and typically works slow.

If you want to hide your grays, you have more options other than harsh chemical box dyes. Rhubarb can help get rid of those grays. Brew some rhubarb root in two cups of water. Simmer for a bit, let it cool, and strain. Once you’re done, pour it over your hair, and let it dry in the sun.
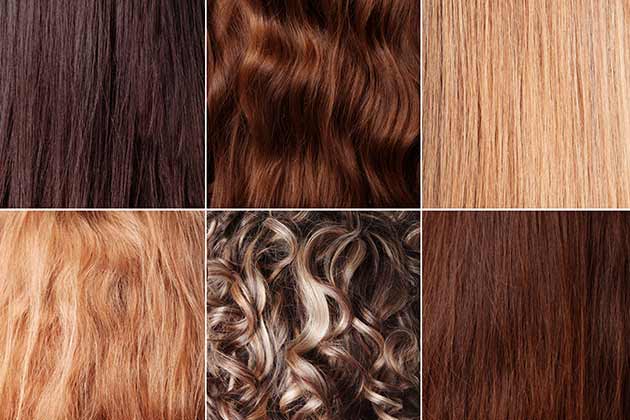
Texture matters a lot. Coarse, curly, frizzy, and unruly hair sucks up color faster and will become cooler-toned. If you have frizzy or curly hair, pick a warm color that’s a little lighter than your natural hair. If you have fine and straight hair, choose a cooler shade that’s darker than natural hair.
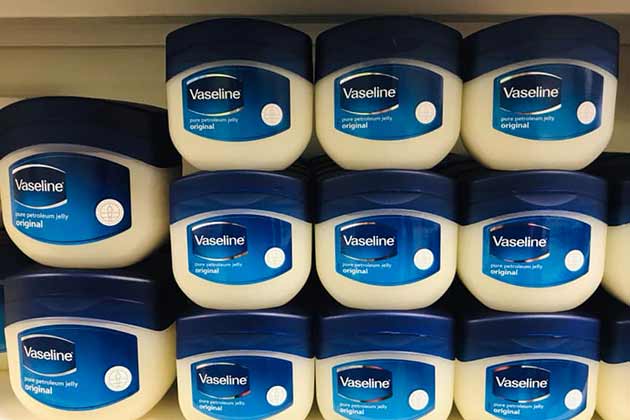
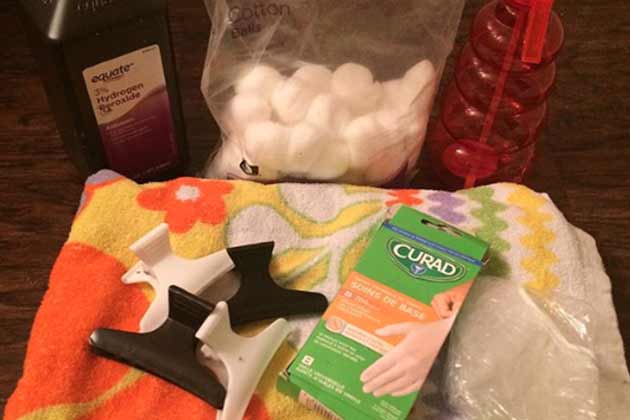
The worst part of dying your hair is staining your skin. You can actually avoid that by using a little Vaseline. After sectioning your hair and putting it up, smear Vaseline on your forehead, ears, along the hairline, and the back of the neck. This will keep your skin from getting stained.
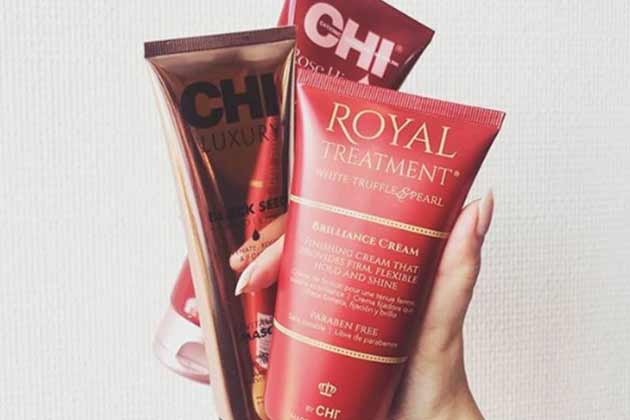
Unless you dyed your hair naturally, you just put it through a lot. Box dyes have a lot of chemicals that can harm your strands, so you should always condition afterward. Use the conditioner that comes with the box as stated. Follow this up with a deep conditioner for an hour. Make sure to rinse well afterward.

When you’re dying your roots, it’s really easy to dye hair that doesn’t need to be touched. To avoid this, apply conditioner to the portion of your hair that doesn’t need to be dyed. You could also mix one teaspoon of cornstarch in with your dye to keep it from dripping or oozing down.
It’s easy to just mix and start dying, but sectioning your hair helps avoid patchiness. Create a middle part and separate your hair into four sections two in front of ears and two in back. Then, start applying dye back to front.

In hair commercials, we see women twisting their hair up into a bun. Well, that’s actually a bad way of dying your hair. It looks good on commercials and may be convenient, but it’s a great way to get a patchy, streaky dye-job. Leave it down to ensure even color.
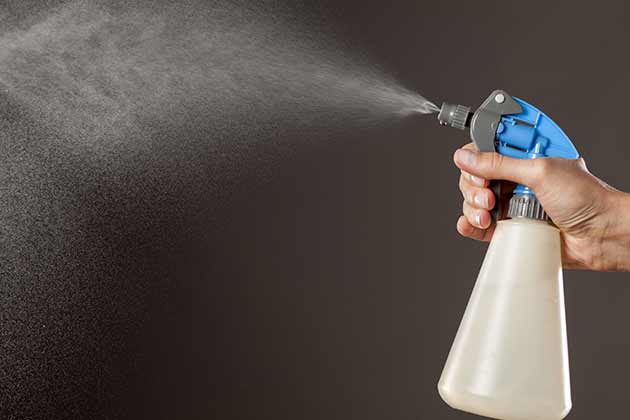
Before the timer goes off, sprinkle or spritz a little water on your hair. Then, mush it around for a few seconds. This moves the dye around, so you don't end up with lines or streaks. Make sure to wear gloves before doing it!
Never skip the strand test. It’s good for two reasons. First, it helps rule out whether or not you’re allergic to the dye. Second, it shows you what the color will look like when you’re done. Take a half-inch strand in a place that isn’t typically visible and dye it as the box instructs.
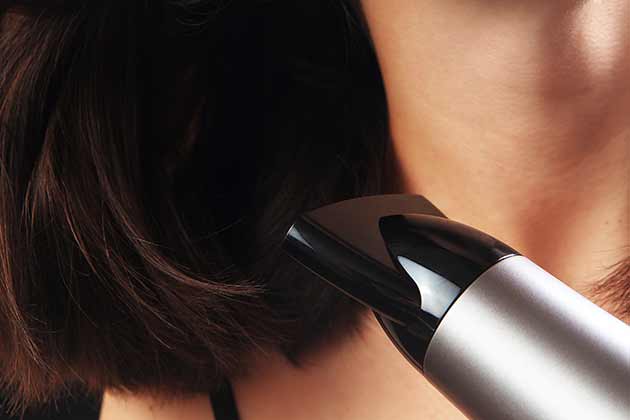
In the salon, you may remember sitting under a hairdryer when you get your hair done. If you have thick hair or you’re going lighter, heat can help the dye penetrate the strand better. A hairdryer will work well, just make sure to use a diffuser. Use it the last five to ten minutes of processing for the best results.

After the timer goes off, you may want to lean over the sink and rinse it out. That’s not the best method. Get in the shower so you can get all of the color out because accidentally leaving some by accident can be highly damaging. Massage the scalp as if you were shampooing but leave out the shampoo. Keep doing this until the water runs clear. Follow up with a good conditioner.

If you’re doing at-home highlights, grab a toothbrush while you’re out getting supplies. The bristles make for a subtle highlight and even application of color. It will also help the color blend better with your natural hair color.

Color remover can fix color issues, but only if dyed darker color. If you lightened your hair, then it won’t do anything. Color removers can be damaging since they use harsh detergents to get rid of the color, so follow the box exactly and wash your hair out well. Also, follow up with an excellent conditioner.

If your hair got too dark, clarifying shampoo can help tone it down. It removes products and color from hair, but don’t use it unless you want to change your new color as it will change your color with prolonged use. Clarifying shampoo uses strong detergents, so follow up with a good conditioner and use a max of once per week.
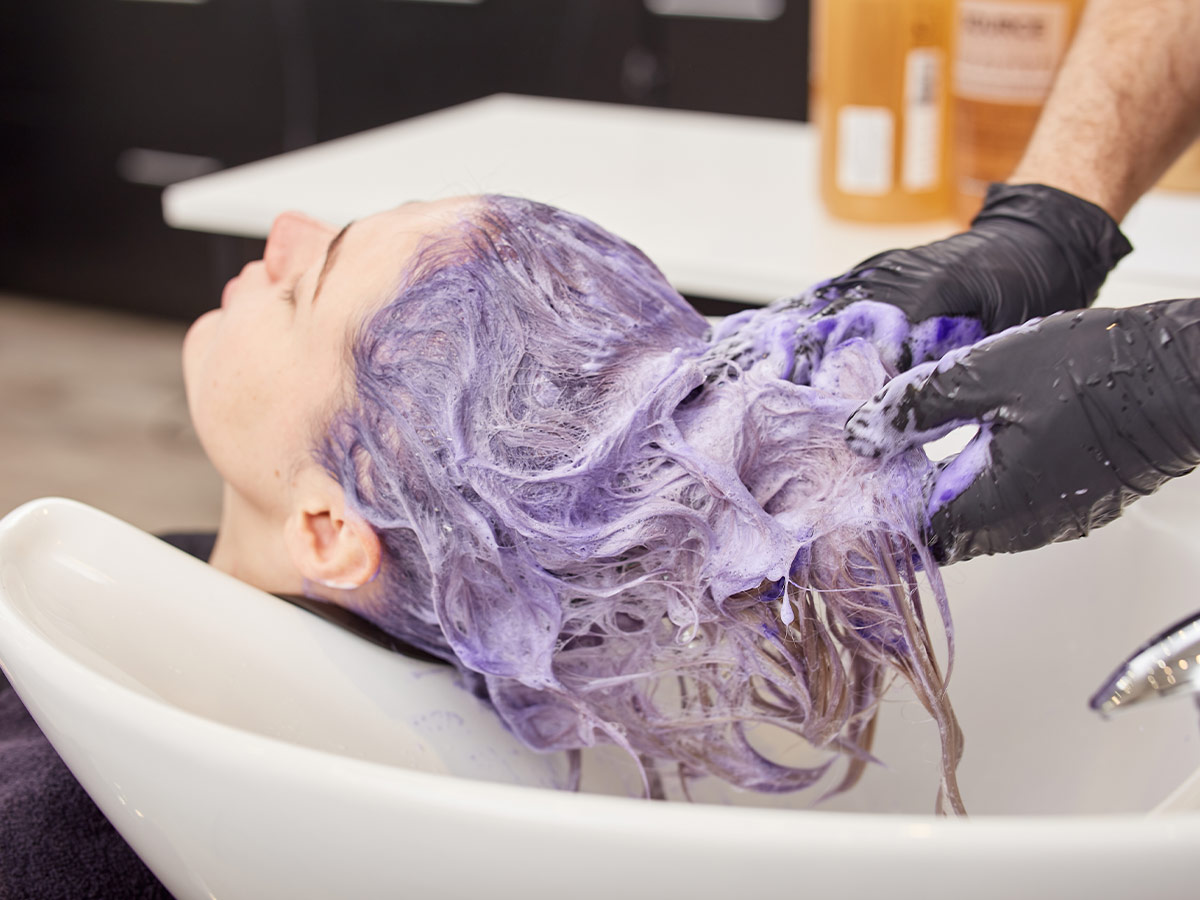
Did your lightened hair get a little too brassy? You can fix that without running to the salon. Buy a toning shampoo to counteract the yellow. The shampoo should be a blue or purple color. Trust us, toning shampoo is a lifesaver.

In general, it’s best to avoid shampoos that have sulfates as it can hurt your hair. If you dyed your hair, you should really avoid sulfates. A sulfate-free shampoo will extend the life of your color and won’t make it dull over time.

No matter what you do, your hair just went through a traumatic event, and it’s now damaged. Heating tools can only make the damage worse, so try to avoid them as much as possible following a coloring. If you must use a hairdryer, use it on low heat.