An outdoor cooler can be the perfect addition to your backyard for the summer. But you don’t have to drill a hole in your pocket to buy one. You only need a few simple tools to create an outdoor cooler for less than $80. No need to buy special equipment. Your usual home improvement and DIY construction tools are enough to build this cooler. Follow these simple steps carefully and go nuts with the decoration.
Tools Needed
- Beer
- Bottle opener
- Bottle cap catcher
- Handle
- Coupling PVC
- Hose Bibb (3/4”)
- Drill bits (1 ¼”) diameter)
- Square hinges (3 ½”)
- T-nuts (4 – 5/16”)
- Elevator bolt (4 – 5/16” x 2”)
- Wood glue
- Exterior wood screws
- Pry bar
- Hammer
- Pliers
- Screwdriver, flat head
- Measuring tape
- Impact drill
- Cooler (50 quart)
- Ultra saw
- Pallets (5 – 8)
Step by Step Instructions
- Scrub or Wash the Pallets
Landscape companies offer these pallets for free, but scrub or power-wash them to improve appearance before you use them. Usually, these free pallets come with attached slats which you have to remove.
- Remove Slats
Use the power saw to take the ends off. The saw is also helpful for removing screws and nails embedded in the pallets.
- Check the Fitting with the Cooler
A 50 quart cooler is perfect for this project. Dry fitting your slats against this cooler will give you an accurate size estimate.
- Remove Hardware from Cooler
Use a drill to remove all hardware, such as latches, hinges, wheels, handles, tabs, etc.
- Build the Legs of the Cooler
Cut 8 slats to 33” and attach 2 together at right angles with screws and glue. Pre drilling is recommended to prevent splintering of wood.
- Measure Side Slats
Use the cooler’s height, adding 4 – 5”, to figure out how many slats will be needed for the side.
- Gluing and Screwing Slats
Place the side slats between the legs and use screws in the pre-drilled holes.
- Measure Back and Front Slats
Use a flat surface to place your cooler upside down, and use slats for marking and measuring. For accuracy, dry fit the slats between the sides of the cooler.
- Attach Back and Front Slats
Cut your slats and attach them to the back and front using glue. Again, make sure these are pre-drilled to attach the screws.
- Measure Front Shelf
The front legs can be used for this measurement. As a tip, use the outer edges of the legs.
- Screw down the Back and Front Shelves
Place the slats on the top and screw the down so they are tightly attached.
- Framing the Lid
Simply place the lid of the cooler on top and build the frame around it using your saw.
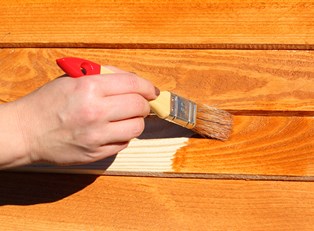
- Final Touches
Finish it off by either distressing, painting, or staining the wood, and attaching your bottle opener, cap catcher, and a handle.